
Start with the guest moment, not the available surface
An NFC tag works at very close range, so the guest must understand what it does and be able to reach it comfortably. The strongest placement is usually a moment when the guest is already paused, has a phone nearby, and can act without interrupting service.
Map the guest journey from arrival through departure. Mark the places where a menu, reservation link, event page, or review path would be useful. Then choose the smallest set of placements that covers those moments clearly.
Dining tables
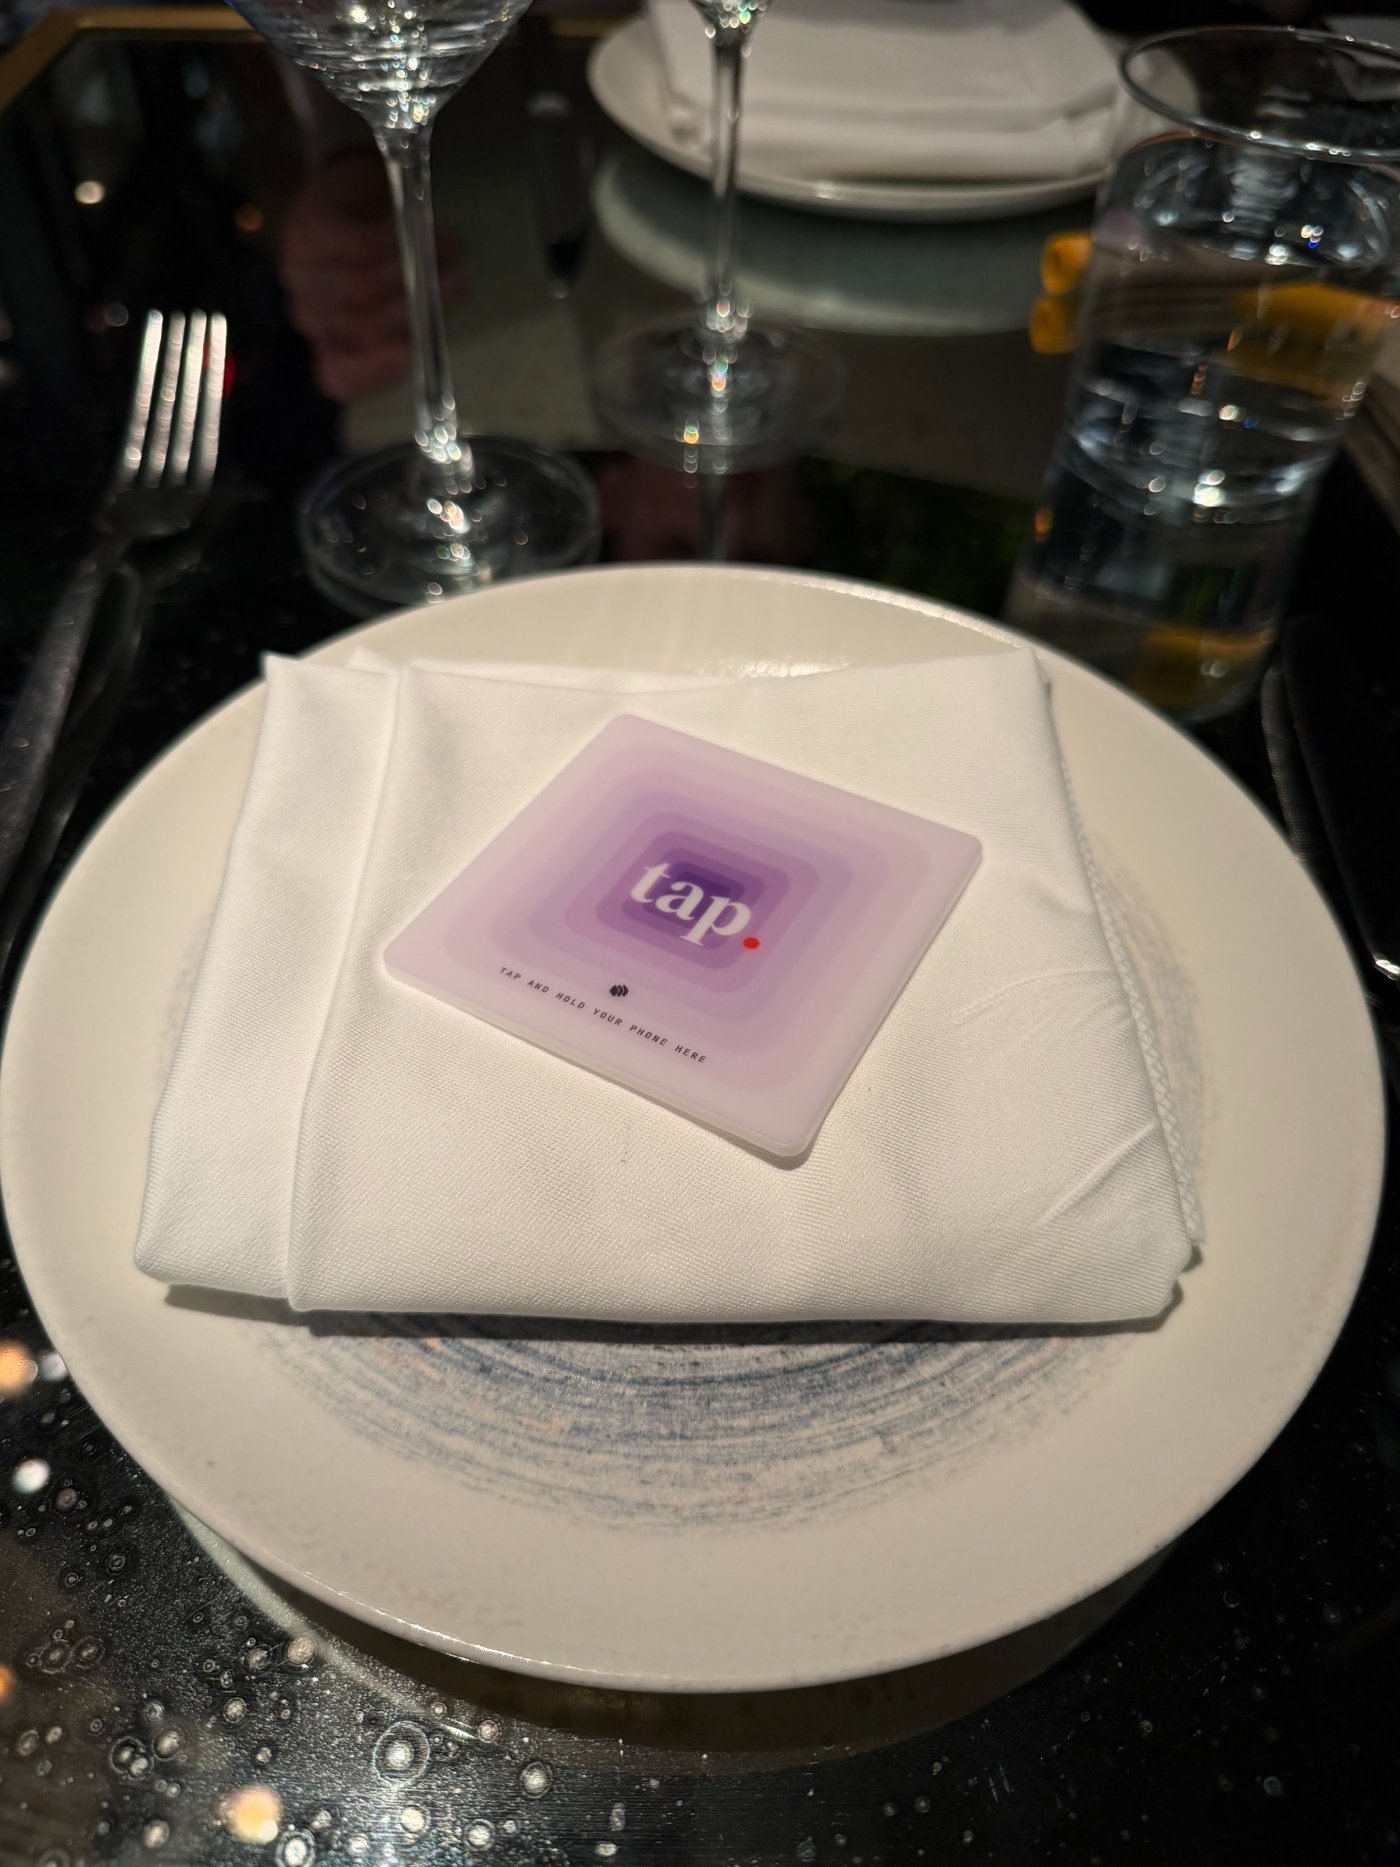
A table placement keeps the venue page available throughout the meal. Guests can open the menu, Wi-Fi, events, social links, or the review path without waiting for a separate card.
Keep the tag visible and reachable but outside the zones normally covered by plates, shared dishes, menus, candles, or glassware. The printed instruction should face the guest and describe the outcome in plain language.
Check presenters and payment pauses
The end of the visit is a natural time for the venue page to remain visible, but the tag must not slow payment or create pressure. A tag near the check presenter or another payment pause point can work when staff can mention it neutrally and move on.
Do not make a mobile object the only placement if it will be lost, stacked, or carried away. A fixed table tag gives the venue a persistent path; the payment placement can reinforce it.
Host stand and waiting area
The host stand can serve guests before seating with the current menu, reservation details, events, or a venue overview. It also gives takeaway and walk-in guests a consistent digital destination.
Keep the tag on the guest-facing side and away from metal equipment unless it is an on-metal tag. A clear label matters because the host stand contains many other visual cues.
Patio and takeaway areas
Outdoor and pickup placements extend the same venue page beyond the main dining room. Use a protected position that stays visible after routine cleaning and is not covered by packaging or weather equipment.
Test the final material and adhesive under the restaurant's real cleaning routine. The tag should remain secure and readable without becoming a trap for food debris.
Metal tables and counters
An ordinary NFC tag placed directly on metal can lose reading range because the surface interferes with the antenna. Use an on-metal tag designed with the appropriate isolation layer.
Do not assume the product label is enough. Test every metal placement after installation with multiple phones and from the direction guests will actually approach it.
Label, test, and measure every placement
Give each tag a useful dashboard label such as Dining Room Table 04, Patio Table 02, or Host Stand. The label turns raw activity into an operational signal.
- Install the final tag on the final surface.
- Test with a recent iPhone and an NFC-enabled Android phone.
- Confirm the correct venue page and every important link.
- Check that the tag remains visible during a normal table setup.
- Train staff on one factual sentence describing the tap.
- Review placement activity after 30 days and move underused tags deliberately.
A practical starting layout
A small restaurant can begin with the highest-traffic tables and the host or pickup area rather than placing tags everywhere at once. A larger dining room can use table labels to compare sections and expand after the first month.
The purpose of the rollout is not maximum tag count. It is reliable coverage of the guest moments the restaurant wants to improve.